


Developed to tackle the demanding bonding and luting challenges of 3D-printed resin ceramic restorations, Luting Cement is the most advanced resin-modified glass ionomer cement designed for modern restorative dentistry. It seamlessly blends industry-leading adhesion, versatility, and esthetics with innovative technology, reinforcing the cement matrix while minimizing polymerization shrinkage.
The result is exceptional marginal integrity, superior long-term durability, and enhanced esthetics—free from dark lines caused by microleakage and microbial infiltration. Paired with Rodin® Try-in-Gel, it delivers a complete, high-performance solution for clinicians seeking exceptional strength, reliability, and esthetic excellence in their restorative workflows.
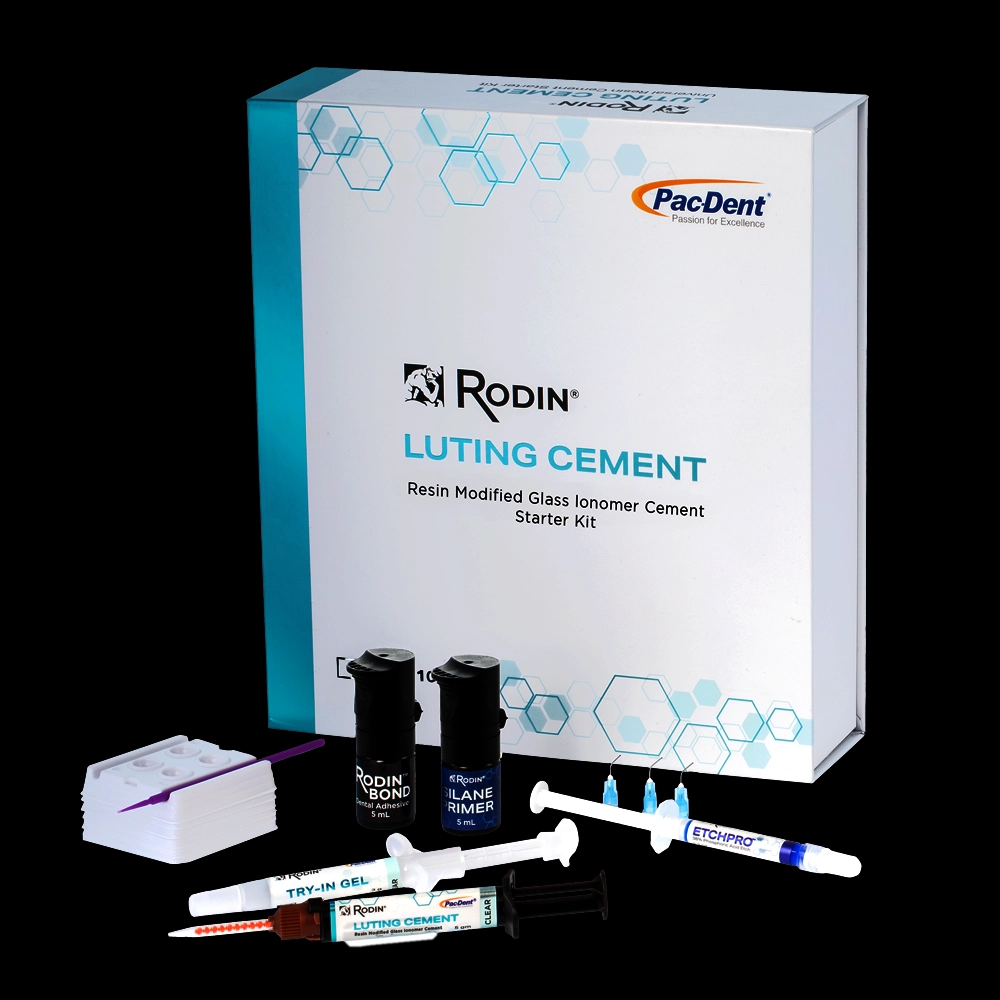
Luting Cement Kit - $ 599.99
5x - 5g Cement Syringe
(Clear, White, White Opaque, Yellow)
5x - 3g Try-in Gel
(Clear, White , White Opaque, Yellow)
1x - 5 mL Rodin Bond Bottle (5ml)
2x - PacEtch 1.5g Syringe
1x - 5ml Silane Primer Bottle
10x - Applicator Tips
10x - Etching Gel Dispensing Tips
Cement Refills
2x - 5g Cement Clear Syringes
20x - Mixing Tips
10x - Intra Oral Tips
2x - 5g Cement White Syringes
20x - Mixing Tips
10x - Intra Oral Tips
2x - 5g Cement White Opaque Syringes
20x - Mixing Tips
10x - Intra Oral Tips
2x - 5g Cement Yellow Syringes
20x - Mixing Tips
10x - Intra Oral Tips
Try-In Refills
1x - 3g Try-In Gel Clear Syringe
1x - 3g Try-In Gel White Syringe
1x - 3g Try-In Gel White Opaque Syringe
1x - 3g Try-In Gel Yellow Syringe

Reinforced Strength & Minimal Shrinkage

Sustained Fluoride Release

Superior Protection Against Microbial Challenges

Enhanced Bond Strength & Unmatched Reliability

Optimized Aesthetic for Seamless Integration
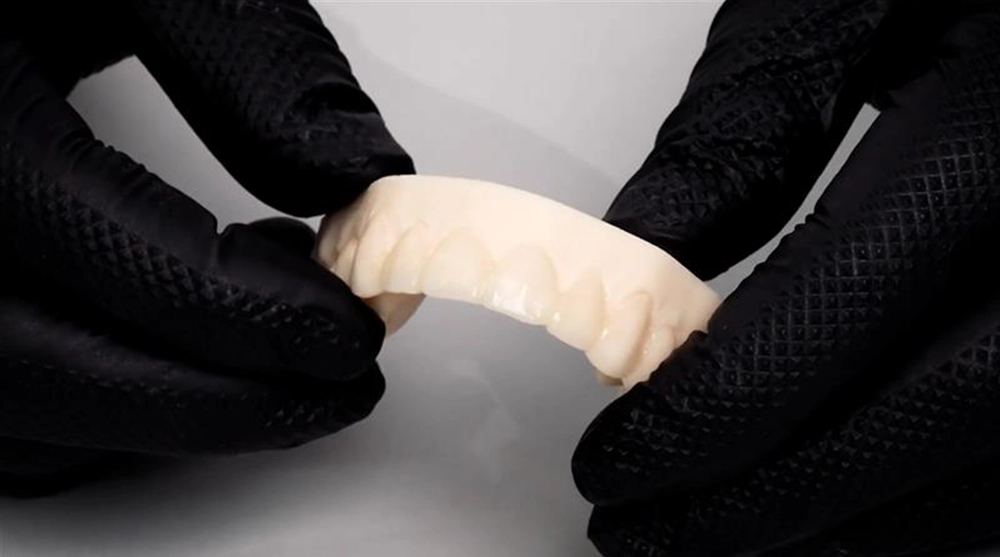
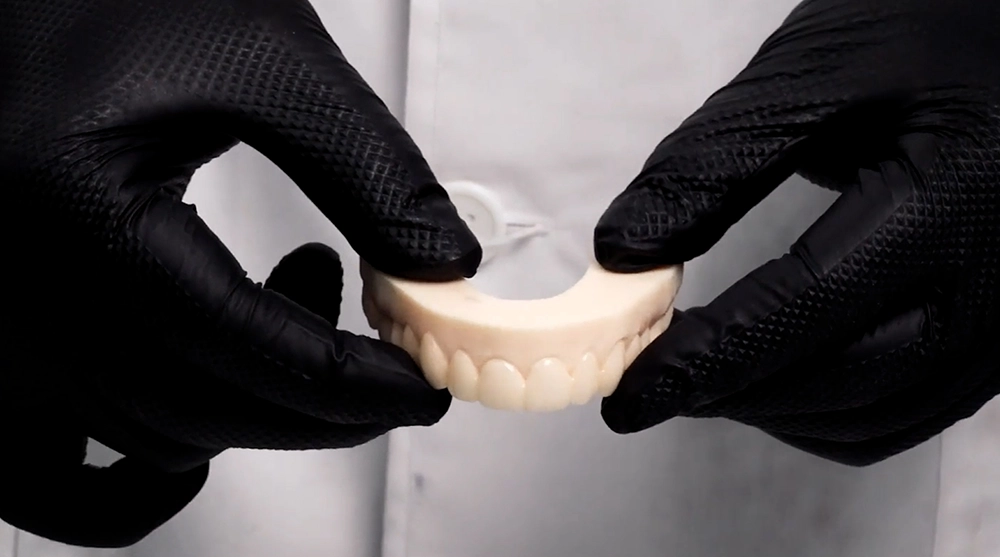
First place the restoration on the preparation to verify fit, contact, and esthetics. Use Try-In to simulate the final cement shade.
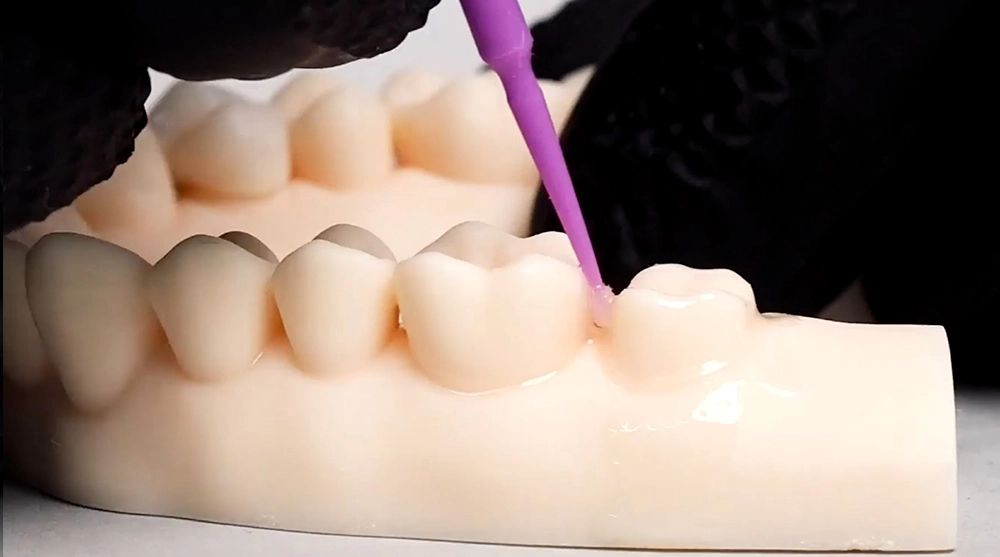
Remove any provisional restoration and thoroughly clean the tooth using oil-free pumice paste. Etch tooth surface, rinse and gently dry. Apply Rodin Bond, thin dry and light cure.
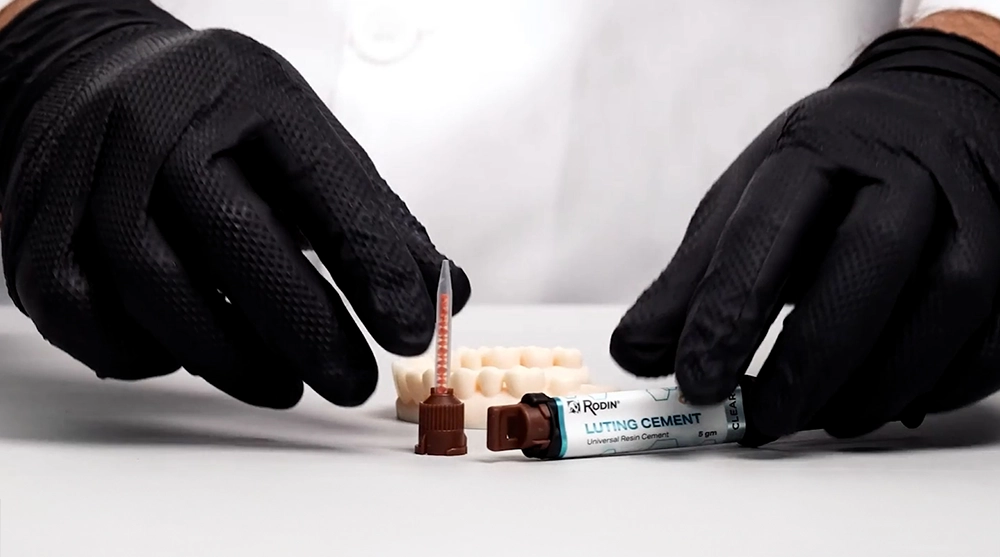
Remove the sealing cap and any old mixing tip from the syringe. Attach a new mixing tip. Dispense and discard a small amount to ensure proper mix and eliminate residual material.

Dispense cement directly into the restoration, ensuring the tip stays immersed to avoid air bubbles.

Seat the restoration using firm finger pressure to ensure proper fit.
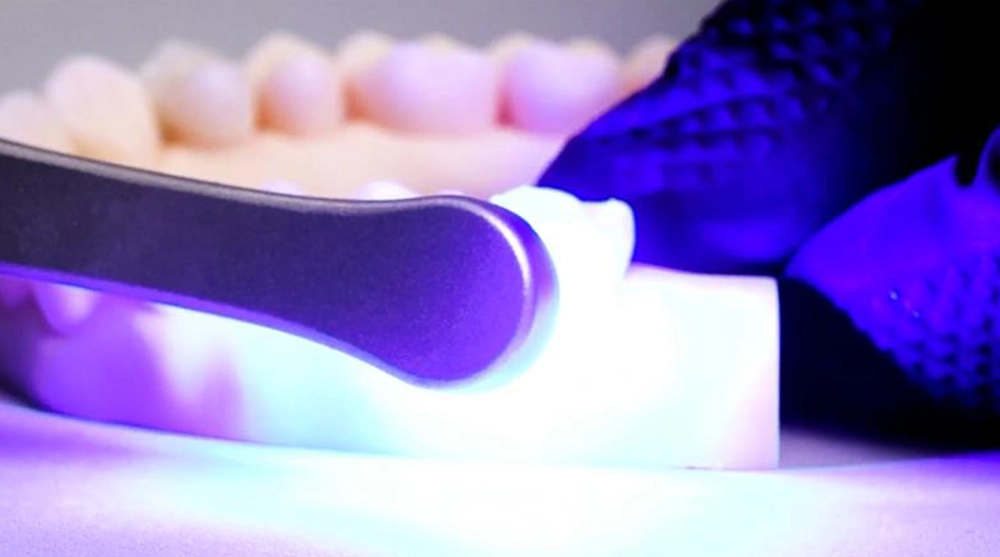
Optionally tack-cure to semi-set, facilitating excess removal, or allow to self-cure before flash removal.
Allow final set—approximately 5 minutes after placement. Finish, check occlusion, and make any adjustments as needed.