


Flexisplint seamlessly integrates esthetics, durability, and user-friendliness with exceptional flexibility to ensure a snug, comfortable fit that minimizes discomfort and enhances the patient’s overall experience. These characteristics combine to make the ideal candidate for printing comfort night guards, occlusal bite splints, and snoring appliances.
Furthermore, the resin’s clear and transparent finish guarantees that appliances not only function effectively but also boast an aesthetically pleasing appearance. Patients can benefit from a discreet solution that prioritizes both functionality and visual appeal, thereby enhancing their comfort and confidence levels.
1 kg Bottle - $ 357.73
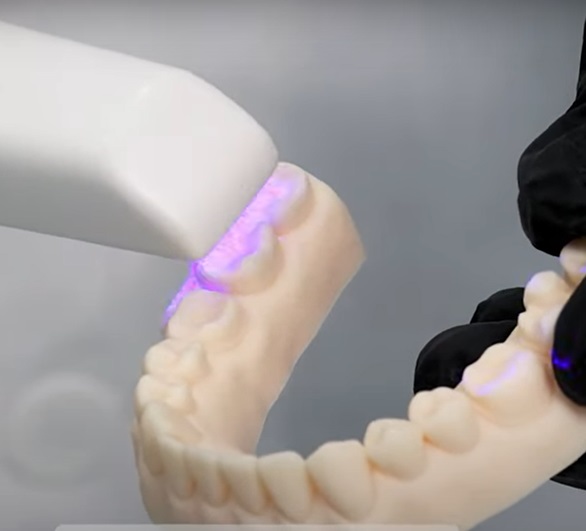
Confirm the patient is a suitable candidate for a splint and capture accurate intraoral scans of their dentition and occlusion to create an accurate 3D model for appliance design.
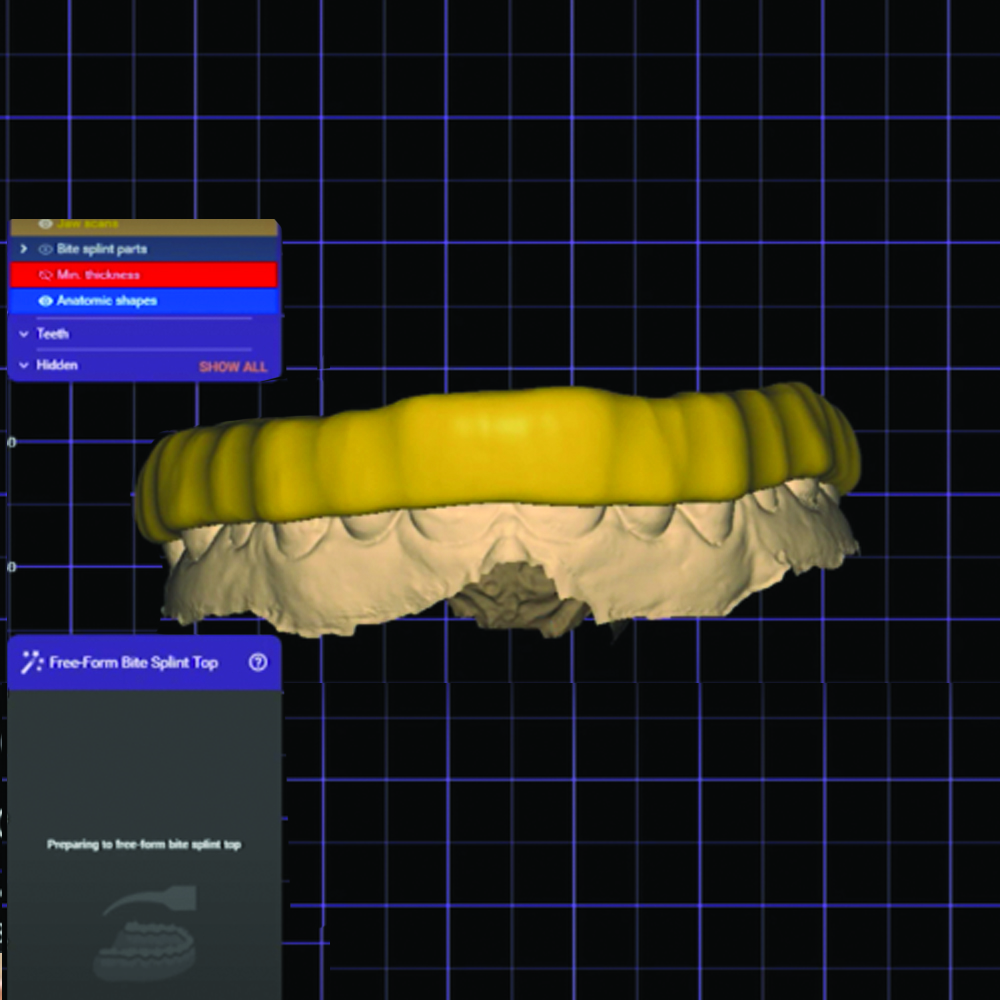
Import the scan into CAD software to design a digital appliance that's tailored to the patient's specific indication, customized for their bite and anatomical features.
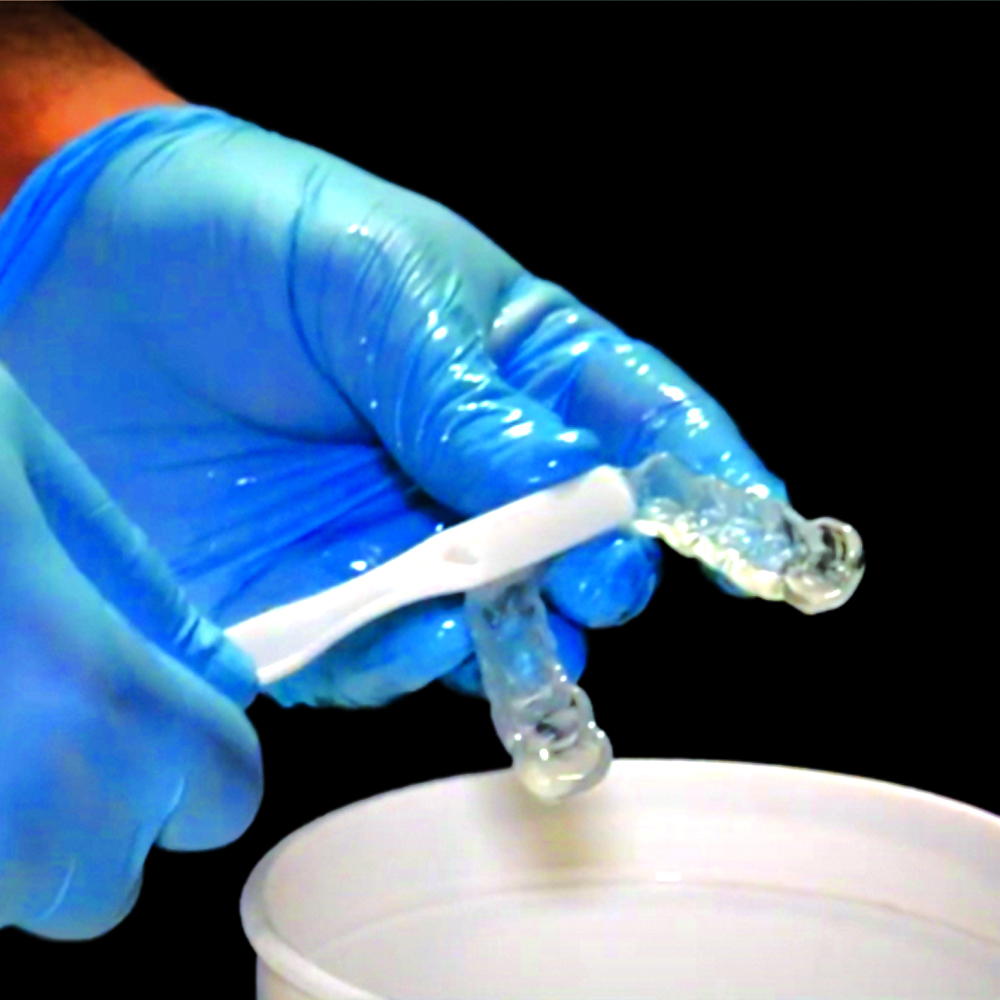
After 3D printing the splint using a validated printer, remove it from the build platform and perform an initial alcohol rinse (IPA or ethanol) to remove excess resin

Use lab acrylic and carbide burs to refine the margins, adjust occlusion if necessary, and smooth the edges for enhanced patient comfort.
After polishing, brush on a thin layer of the same resin used to print, before performing a full post-cure cycle.
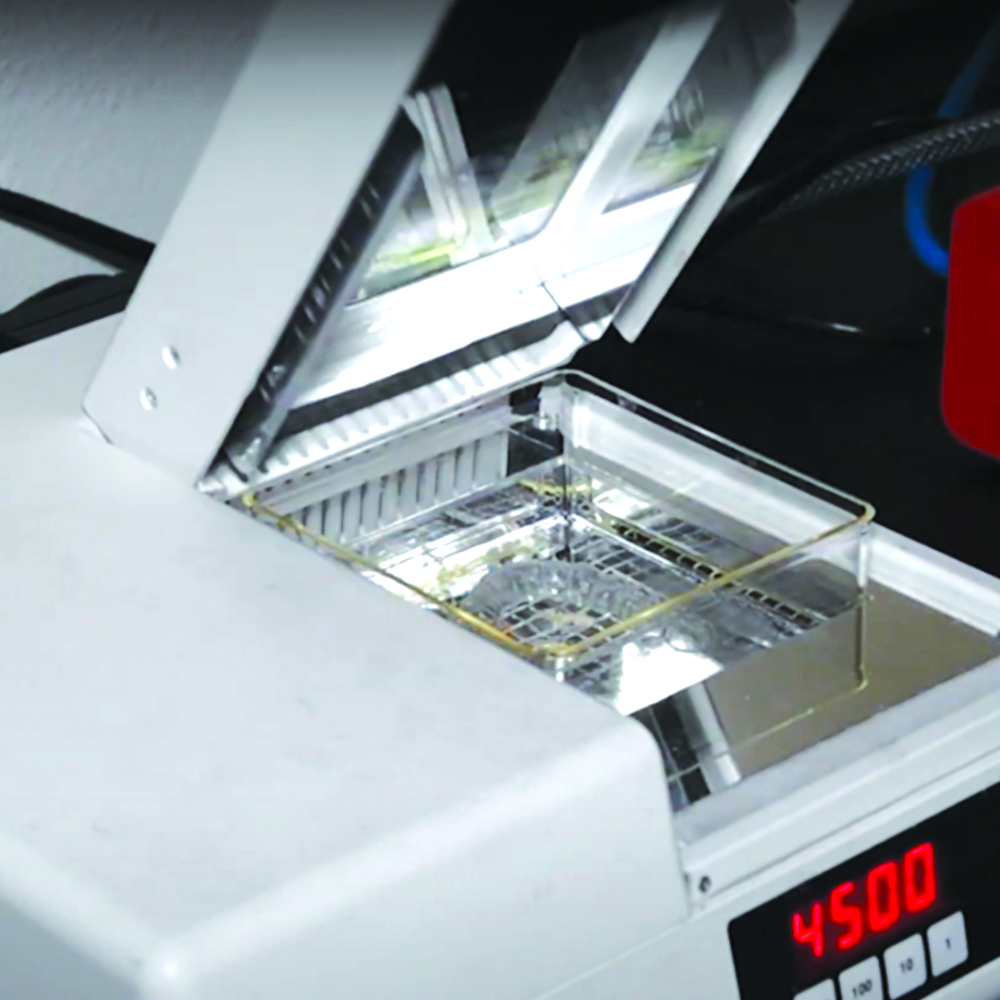
Place the appliance in a validated post-curing unit to achieve full polymerization of both the appliance & glaze, ensuring optimal mechanical properties and long-term durability.
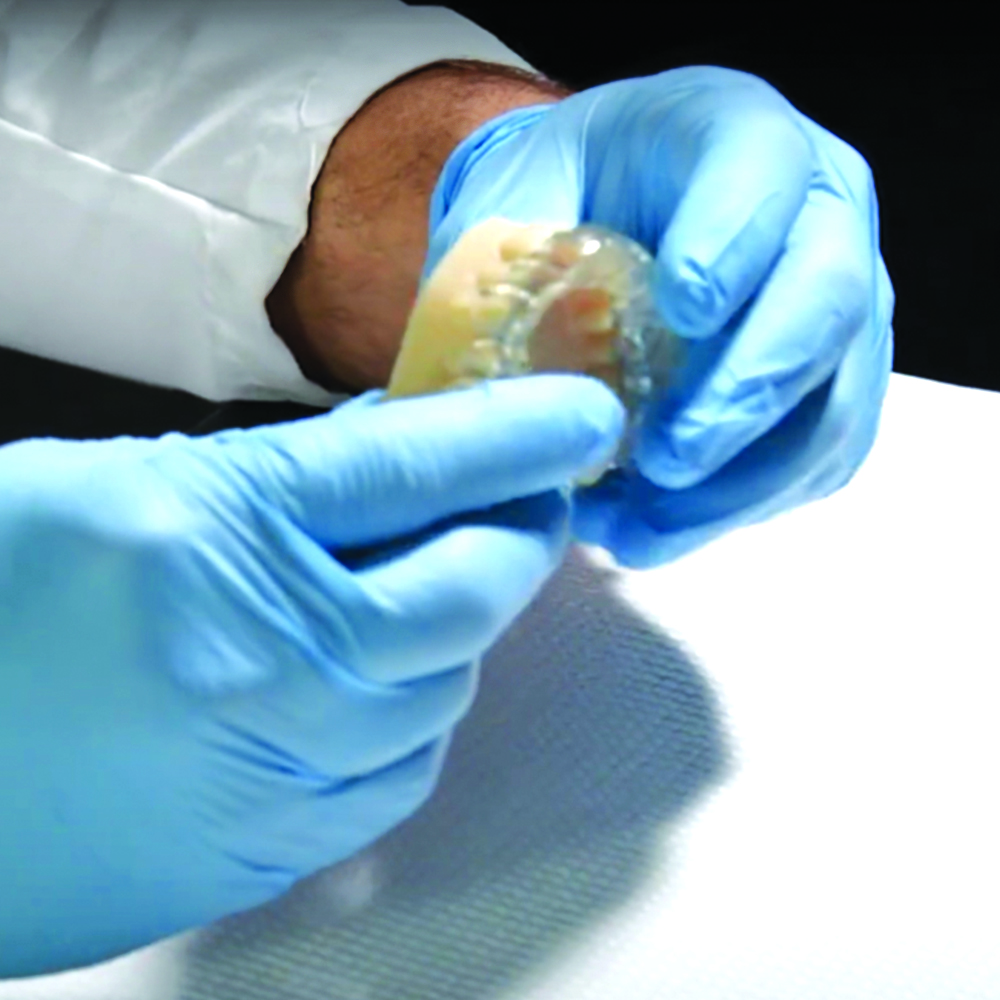
Perform a final high-shine polish using a polishing wheel and paste, then deliver the splint to the patient, ensuring a proper fit, occlusal balance, and patient comfort.

Night Guard

Splint