


New
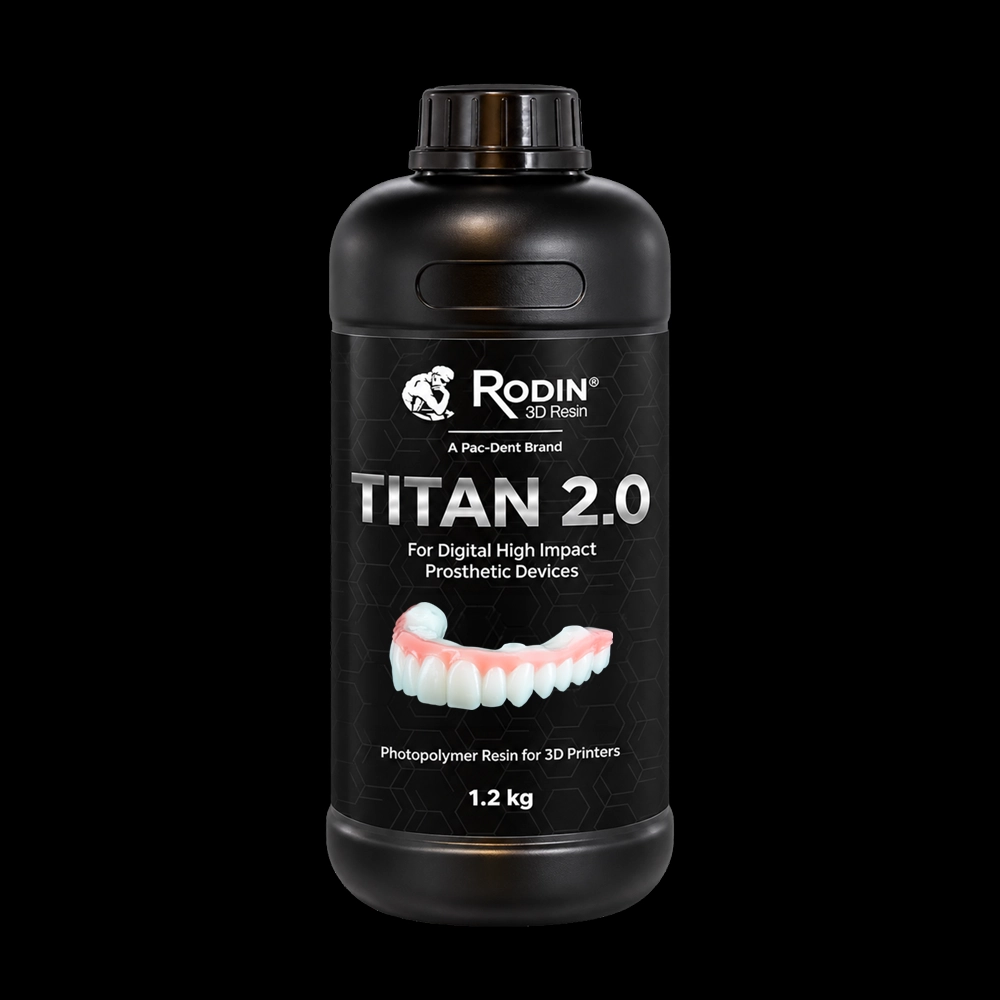
Titan 2.0 High Strength Full Arch Resin is an upgraded ceramic nanohybrid 3D printing material designed for demanding full-arch and long-span restorations. Its optimized formulation reduces water absorption and improves strength retention over time, supporting greater stability in the oral environment. Designed for durable restorative workflows, Titan 2.0 also supports natural characterization and finishing with compatible stain and glaze systems.
1.2 kg Bottle $1518.00
600 g Bottle $759.00
Shades
1.2 kg
600g

All-on-X

Denture Teeth

Veneers

A full oral evaluation is completed using digital impressions, intraoral scans, and CBCT imaging to assess jawbone structure, bone density, and ideal implant sites. Guided surgery software then virtually plans implant placement with optimal angulation and stability to ensure strong support for the full-arch prosthesis.

In the design software of your choice, integrate all the required inputs to generate the All-on-X design. Be sure to adjust the tooth anatomy, contacts, and occlusion for optimal fit and function.

If needed, surgical guides are printed to provide a precise, secure template that follows the pre-planned implant positions, angles, and depths for maximum accuracy and minimally invasive placement. After finalizing the All-on-X design, the model is nested in the printer software, sent to the 3D printer, and printed using Titan resin.

After the print is complete, remove restoration from build plate. Remove supports from the restoration and follow manufacturer instructions for use for wash and post-processing procedures.

Before final curing, adjust contacts, contours, and occlusion, then apply Rodin Palette and Glaze N2-Free in the uncured state for optimal chemical bonding and post-cure as recommended. Attach the housings, place composite in the caps, seat the prosthesis, confirm adaptation, and make any final adjustments for comfort and function.

Complete all polishing, characterization, and finishing to achieve a natural look and verify the prosthesis meets standards for comfort, retention, and aesthetics. Cement the implant housings before final post-curing for durability, and use a Rodin Model study cast as needed to confirm dimensional fit.

Secure the prosthetic arch onto the implants using the selected attachment system. Provide the patient with hygiene and maintenance instructions to ensure they understand proper care and long-term stability of their new fixed full-arch restoration.